
Tours
How Axix Visitor works end to end
Visitor aaye → pehle se register → gate pe Face ya QR → host ko email → meeting end → checkout → report.
01
Enroll
Register visitors on web or mobile with photo, host, QR expiry, and leverage time.
02
Check in
At the gate, face recognition or QR scan creates the check-in record and snapshot.
03
Alert & close
Host gets email with End Meeting; leverage timer then checkout and reports.
Web Admin / Mobile App
→ Visitor Enrolled (QR + Face)
→ Gate Kiosk Face OR QR
→ Host Emails · Dashboard · Reports
Book a live walkthrough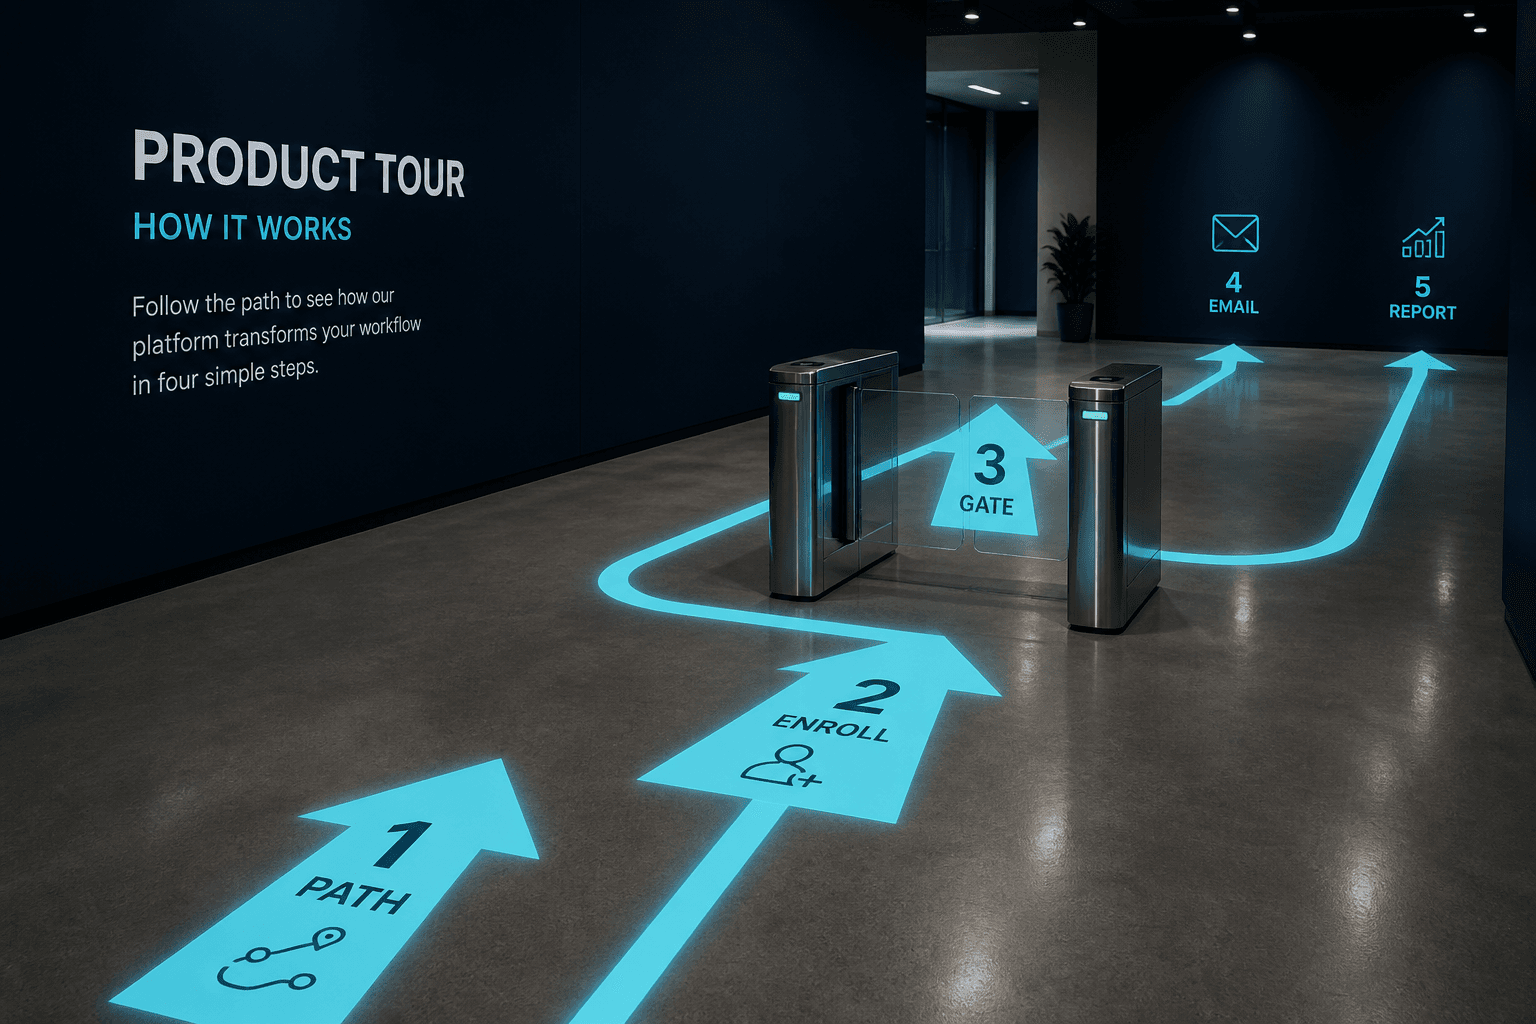
Product tour — how it works
This tour walks the Axix Visitor lifecycle from enrollment through reports in plain steps. Enroll on web or mobile, verify Face or QR at the gate, and notify hosts by email. Leverage time governs checkout grace after meeting end, then reports capture the evidence. Visual flow ties Web Admin, mobile, kiosk, and Django API into one story. Three tour steps keep demos memorable for mixed audiences. Use the tour when buyers need the whole system in minutes, not feature silos.
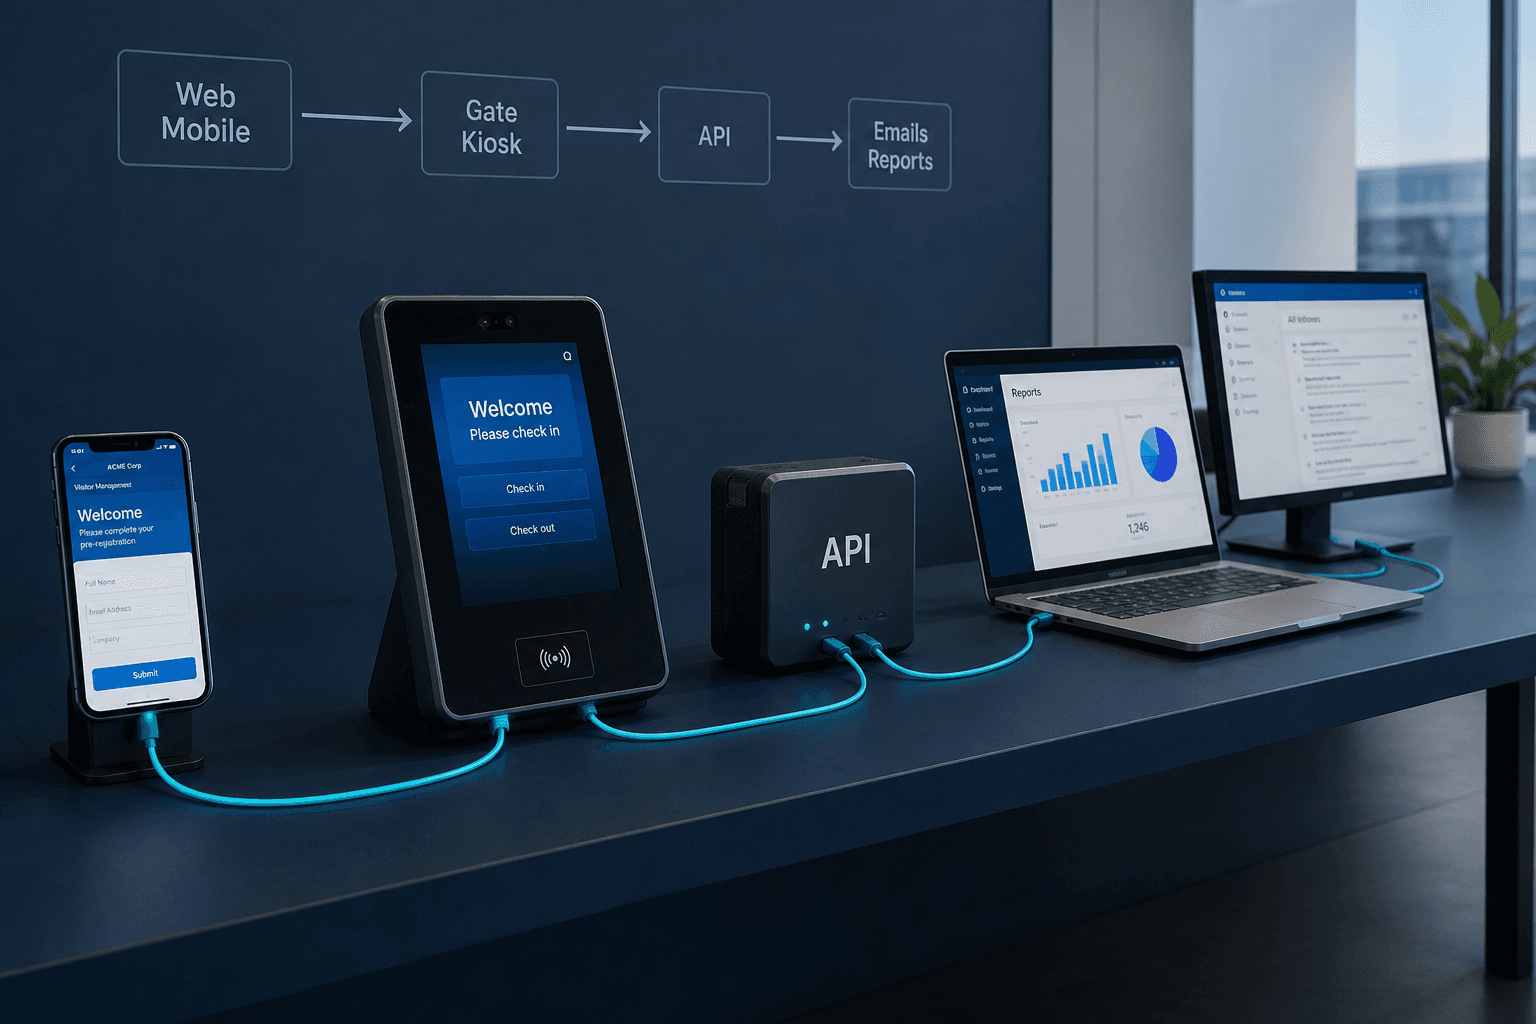
Visual flow
Web Admin or Mobile App enrolls the visitor with QR and face readiness. The gate kiosk verifies identity and posts events to the Django API. Host emails, dashboard cards, and reports consume those same events. Nothing important lives only on a local PC spreadsheet. Visual flow helps executives see why channels must share one backend. Draw this once and every later feature page makes more sense.
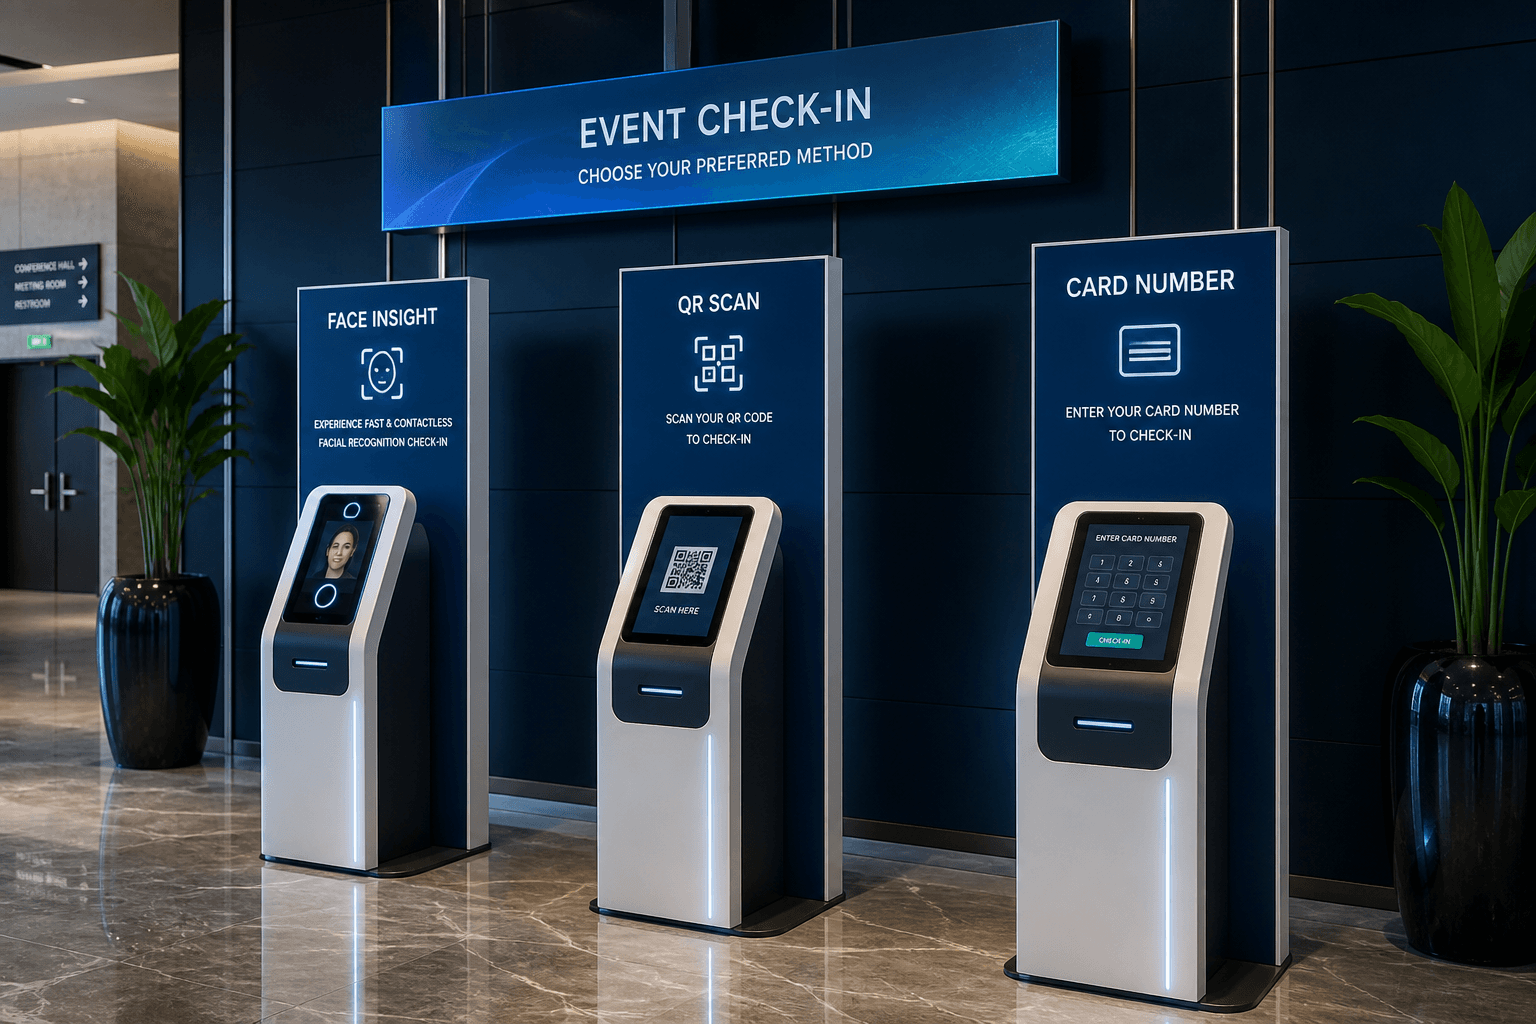
Check-in methods
Face recognition uses InsightFace with FAISS indexing trained at enrollment save. QR scan validates time-bound passes with expiry and ACTIVE status checks. Optional card number fields store physical badge IDs beside digital methods. Sites can emphasize Face, QR, or both depending on lobby culture. Failed methods still produce clear deny outcomes for security. Check-in methods are the tangible moment visitors feel the product.
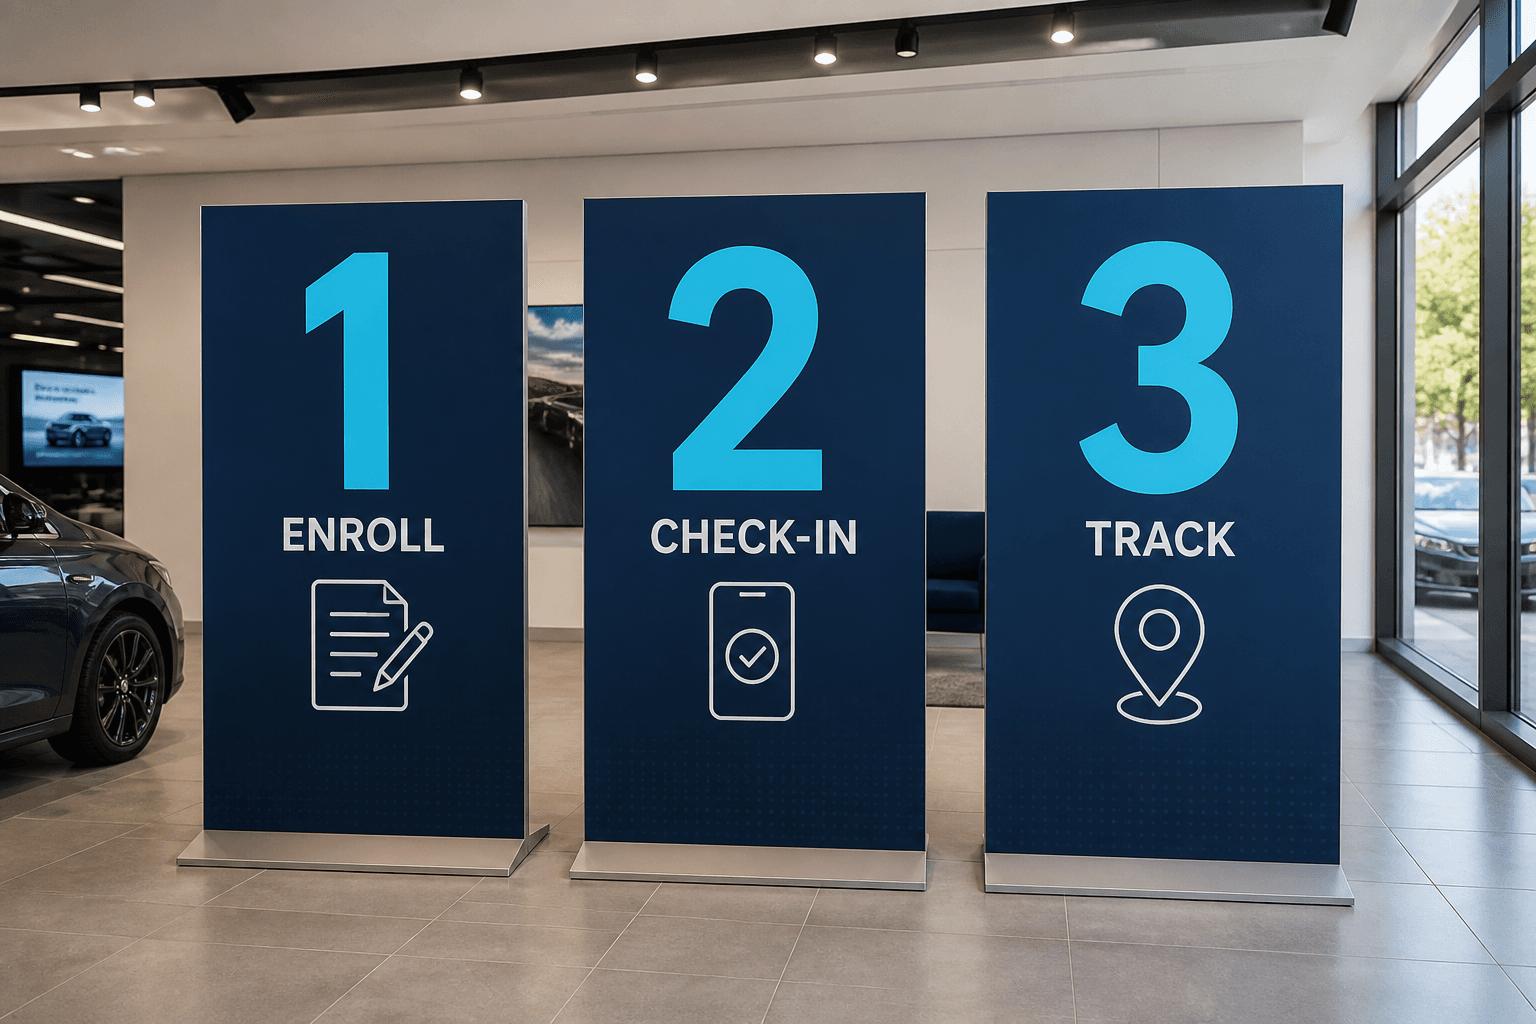
Three tour steps
Step one enrolls the visitor on web or mobile before arrival. Step two checks in at the gate with Face or QR and host email. Step three tracks leverage, checkout, and exports for ops and audit. Three steps are enough for a hallway pitch yet true to the guide. Expand any step into a deep feature page when questions arise. Memorize the triad and you can demo without slides.

CTA
Request a demo to see enrollment and gate verification on your site list. Talk to Axix Technologies about Windows PC readiness and camera placement. See visitor management in action rather than only reading feature catalogs. Bring gate layout notes so the session stays concrete. CTA language matches the product guide so website and sales stay aligned. The tour ends when someone schedules the hands-on walkthrough.
What the product tour proves
A tour is successful when each lifecycle step is visible end to end.
Enroll before the gate
See photo, host, and QR created on web or mobile before any scan happens.
Verify at the door
Watch face or QR check-in complete on the Windows kiosk with optional snapshot.
Close with alerts & reports
Host email, overdue paths, and PDF/CSV exports complete the story.
Tour audiences and angles
Adjust emphasis depending on who is watching.
For facilities buyers
Spend time on lobby throughput, locations, and monthly volume exports.
For security buyers
Spend time on gate dual access, BLOCKED status, and Visitor Alert refresh.
For IT buyers
Spend time on tenant isolation, devices, and mobile vs web roles.
After the tour
Convert a walkthrough into a pilot plan.
Pick one gate
Pilot a single entrance with real hosts before expanding company-wide.
Define success metrics
Agree on check-in time, overdue rate, and export cadence before go-live week.
Next step
See this flow in a live demo
Transform your front desk with secure visitor management.
Register guests, check them in with face or QR, alert hosts by email, and export complete visitor reports.